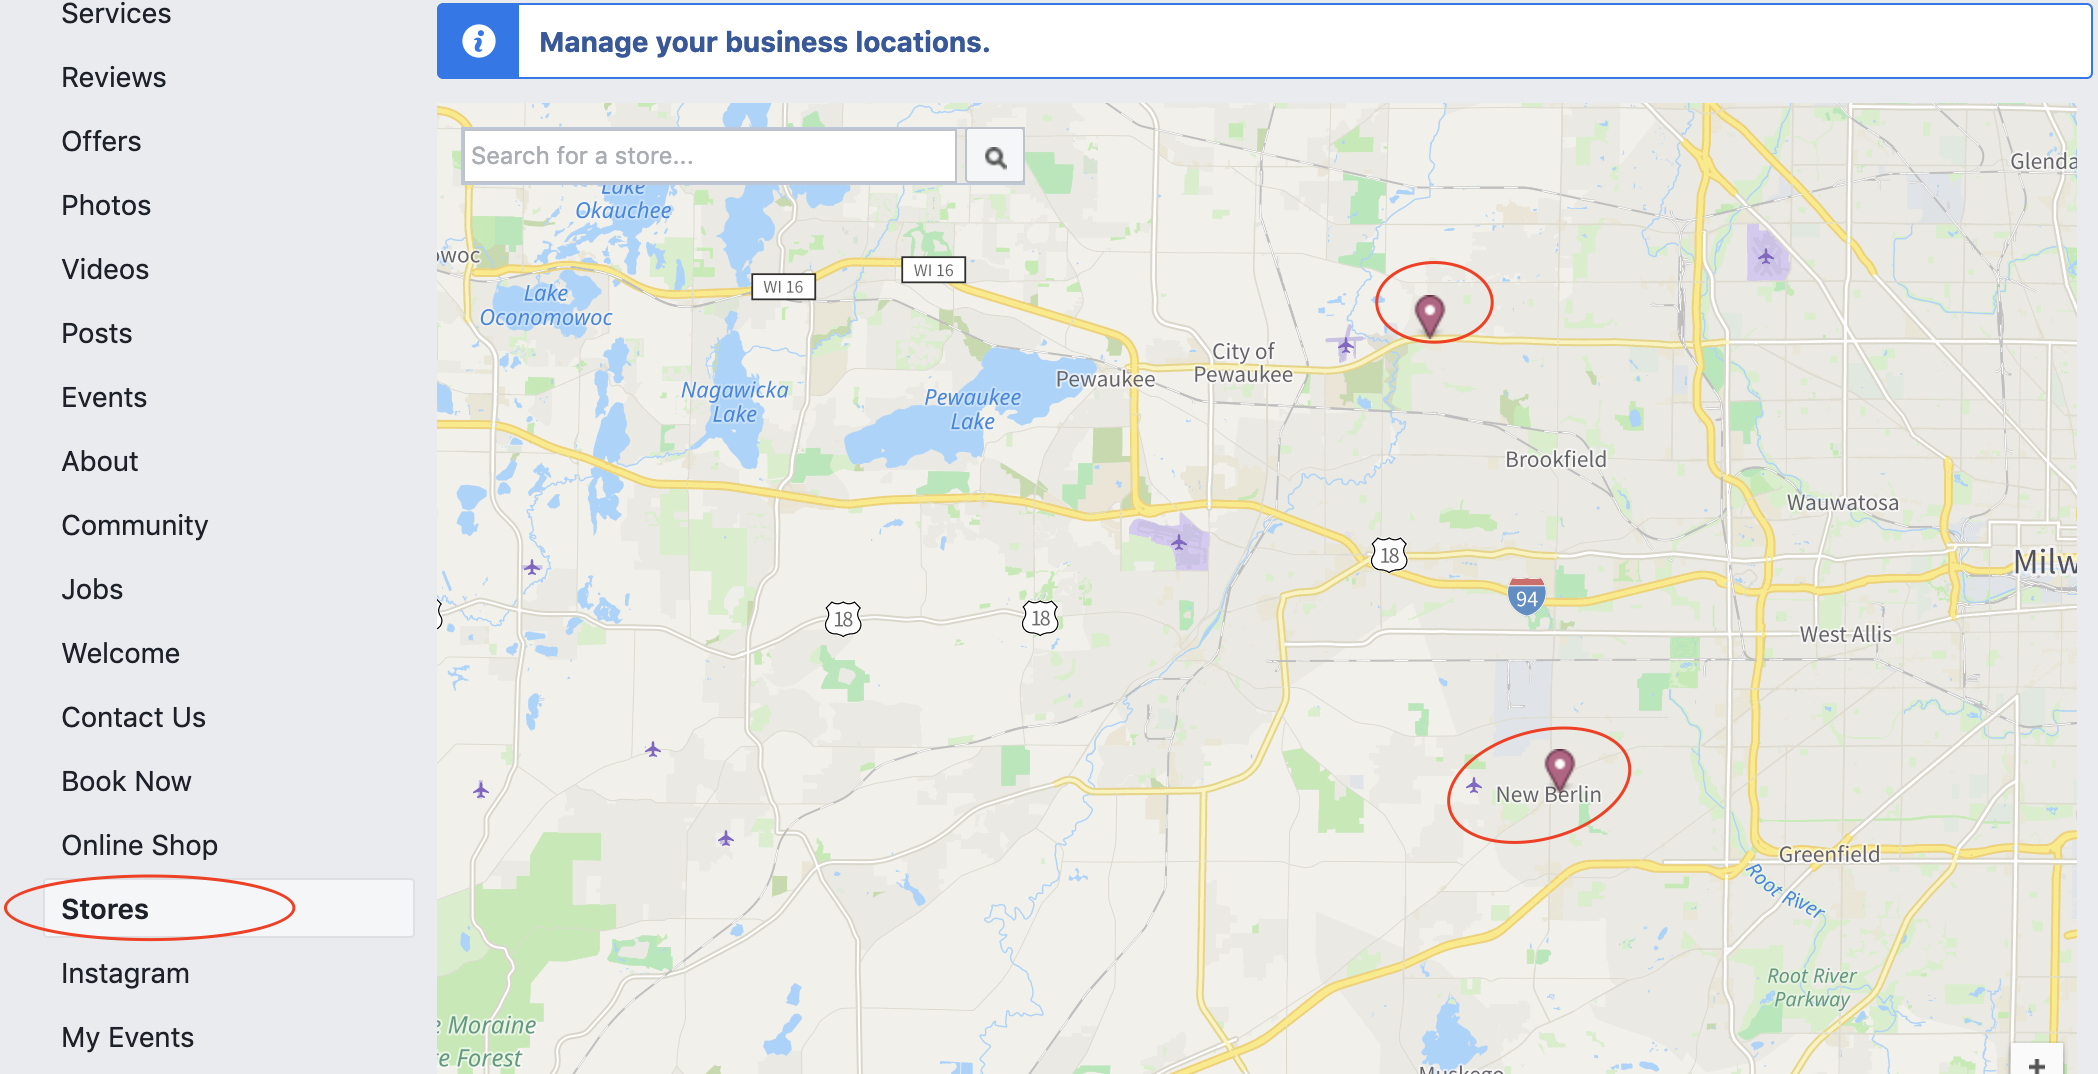
For pet retailers with multiple locations, managing social media can be both difficult and time-consuming. Thankfully, Facebook makes it easy for you to manage multiple location pages, with the capacity to add a map to your main Facebook Page and provide a “Stores” tab to local pet parents who find you on Facebook.

In this post, we’ll break down how to add a Facebook location page for each of your retail locations while also keeping your primary Facebook page in-place. You will also want to consider after reading this, if this is the right thing to do for your business.
Why Should Pet Retailers with Multiple Locations Setup the Multi-Location Structure?
If you have multiple pet retail locations, and you want all your locations to show up on a map on your main Facebook page, then adding location pages on Facebook is probably the right thing to do.
There are several reasons you might want to have your individual pet store locations highlighted on your Facebook page:
- You want customers to be able to find and review locations of your business separate from your main page.
- You want to track store visits.
- You want to offer location-specific content.
- You want to advertise each location from its’ own Facebook Page.
BEFORE You Start Adding Locations to Your Facebook Page:
While Facebook lists many benefits of adding locations to your main Facebook Page, this may not be for everyone.
First off, you’ll have to post content separately for each location (or publish the same thing to every location, which really isn’t a bad thing in the pet industry). Secondly, your reviews & recommendations earned will stay on the primary business page, and you will want to now start building reviews to the individual store pages as well (optionally). Otherwise, just keep building up the brand page reviews and that should work great.
How to Add Multiple Pet Retail Locations to Your Business’s Facebook Page:
- First, you’ll need to make sure you have admin or editor access to your Facebook Page. Only admins and editors can make big changes to your Page (you can check this in Settings > Page Roles). Once you’re an admin, you should be able to start adding locations.
- Delete any address in your Page’s settings.
- In Facebook Business Manager, go to Business Manager > Store Locations > Select your Page in the Upper Left and follow the prompts.
- At this point, you can either manually add each location (Facebook recommends this if you have 10 or fewer locations) or upload locations using Facebook’s CSV template. (This is recommended if you have more than 10 locations).
Once you start adding locations, Facebook will prompt you to remove your address, and then add your store locations. It’s that easy!
If you are currently a NextPaw customer and you operate multiple stores, you can reach out to our team and we will do this entire process for you. This way you get a new store locator on your Facebook page, multiple pages showing up in Facebook search, and the opportunity to have a brand page and location page showing up in local Google search results. WIN!

 THE COMPLETE NEXTPAW TOOLKIT


